How do I enable WebDAV for Windows?
- Go to your "Start" menu, and click on "My Network Places":
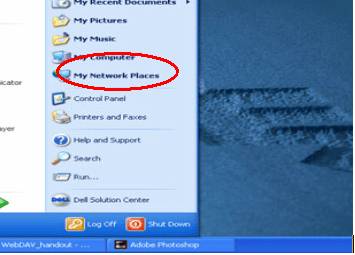
- Click "Add a network place" from the left-hand navigator bar under "Network Tasks":

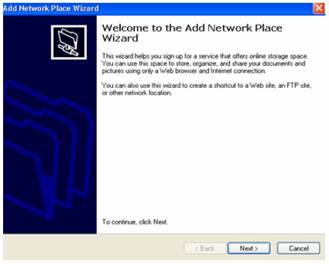
- Click on the "Next" button to continue the process:
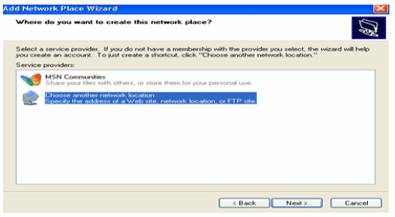
- The "Next" button directs you to the following screen. Click the "Choose another network location", and then press the "Next" button:
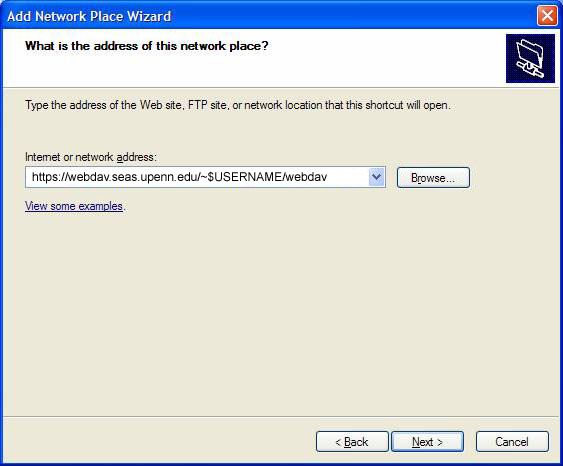
- Enter the given URL, i.e. https://webdav.seas.upenn.edu/~$USERNAME/webdav/ (where $USERNAME is your username):
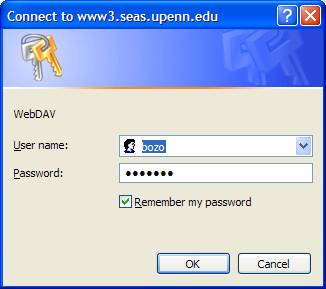
- You will be prompted to login using your username and password. This is your SEAS username and password:
- Click "Finish" to complete the creation of the network place:

- You will be prompted to login again with your username and password.
- When you Press the "OK" button, all the files inside the folder will be listed:
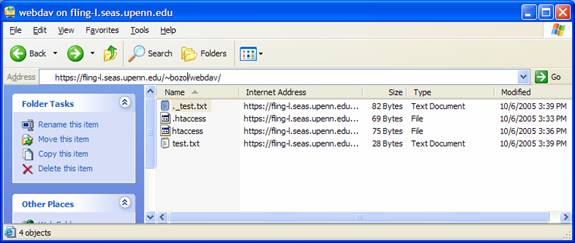
- Now you have completed your WebDAV installation.
- Now you can drag and drop files to and from your WebDAV enabled folder as though it is a local file folder.